OliF
Overdrive!
I'm still working with a recovering (but still ******ed) broken left arm, so progress is slower than I'd like. 
Physio is good so far, but I only have about 20% of my range of wrist motion and about 1/8th of my grip strength in it. Holding spanners and wrenches tight is hard work!
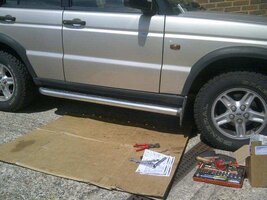
3 hours of work today and I have the side step brackets fitted to the chassis. I'm currently mounting STC50032 to mine which matches the chrome a-bar I've now got fitted. I grabbed a bolt kit from BritCar (STC50225) as I was missing some bolts from my eBay bargain.
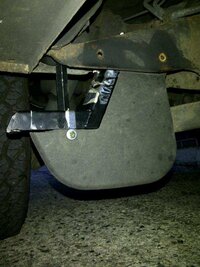
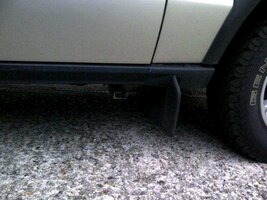
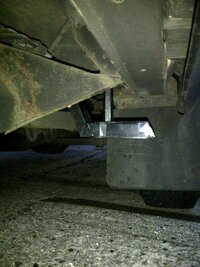
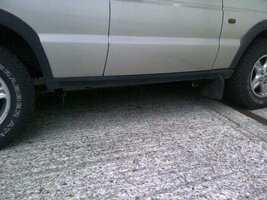
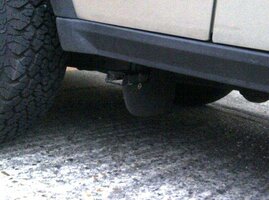
Now in reference to the instructions, maybe someone knows the answer. In the parts (image below of the kit) there are some new brackets that bolt the sill to the body shell. For some reason the LR install diagram (as per RAVE) tells you to remove these plates and replace them with identical ones and include a small metal plate over the refit. In the piccy below I'm referring to the angled plates under the huge bolts and the pair top right that are blck and rectangular between the mud flap plates.
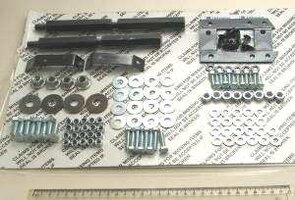
Now given the side steps are mounted to the chassis/body mount, what purpose doe this serve? Anyone have a clue? I'm stumped as all load from the steps and weight on them seems to go into the chassis and support arms.

Physio is good so far, but I only have about 20% of my range of wrist motion and about 1/8th of my grip strength in it. Holding spanners and wrenches tight is hard work!
3 hours of work today and I have the side step brackets fitted to the chassis. I'm currently mounting STC50032 to mine which matches the chrome a-bar I've now got fitted. I grabbed a bolt kit from BritCar (STC50225) as I was missing some bolts from my eBay bargain.


Now in reference to the instructions, maybe someone knows the answer. In the parts (image below of the kit) there are some new brackets that bolt the sill to the body shell. For some reason the LR install diagram (as per RAVE) tells you to remove these plates and replace them with identical ones and include a small metal plate over the refit. In the piccy below I'm referring to the angled plates under the huge bolts and the pair top right that are blck and rectangular between the mud flap plates.

Now given the side steps are mounted to the chassis/body mount, what purpose doe this serve? Anyone have a clue? I'm stumped as all load from the steps and weight on them seems to go into the chassis and support arms.


