I thought I would give this paint touch up system a go. They claim wonderful results and there are a number of video’s on YouTube that claim same.
The kit is around £35.00 and this is what you get:
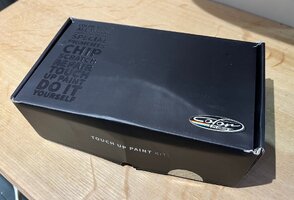
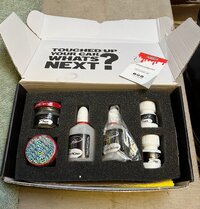
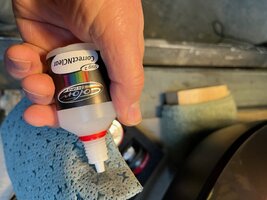
The top tray has two pots of your chosen body colour (metallic or plain) that matches your car. Next is two pots of the ‘CorrectNclear’ liquid, a small pot of paste and a small pot of wax.
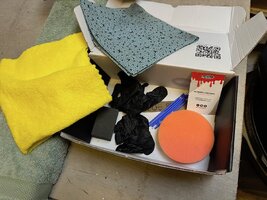
Under this tray is a blue cloth for the correction fluid, a yellow cloth for the paste and wax, touch up brushes two foam pads and a pair of gloves.
I have bought a few replacement (used) body parts for my D4. A back bumper and a near side rear passenger door. Both are the correct body colour for my Disco, but they both have marks that need to be corrected.
So I thought this kit might be the alternative to completely respraying both pieces.
The Rear Bumper:
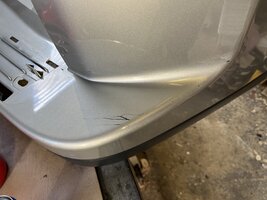
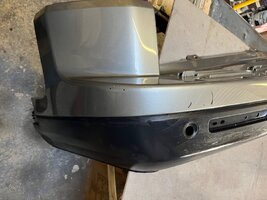
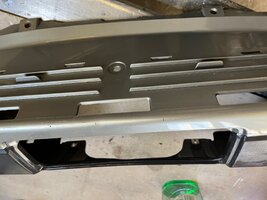
You can see a number of different scratches and chips on the flat surfaces and edges of the bumper.
The first thing to tackle is to clean out any plastic swarf from the scratches, this can be done with fine abrasive paper or a fibre pen.
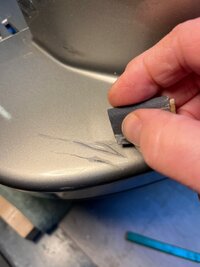
You wipe the marks clean with the ‘CorrectNclear’ then, either using one of the brushes provided or, as I found more accurate, a needle; drop paint into the chip or scratch.
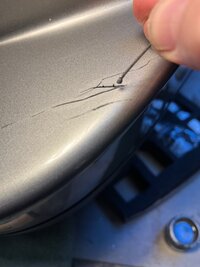
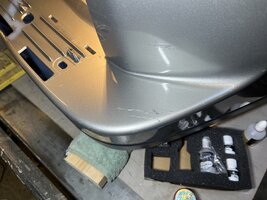
I left this to dry over night and then, with a 1600 grade wet and dry paper, gently rubbed the excess paint down flat. I then went over the areas again with the touchup paint, again leaving over night before flattening and polishing.
The Rear Door:
The rear door has only one serious blemish. A sizable chip with goes right down to the metal and the exposed metal has started to show rust.
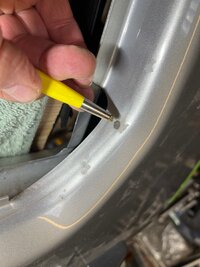
I used a brass fibre pen to clean the rust out and then put a base layer of rust inhibiting zinc primer in. This was left to dry and then flattened before applying several coats of touch up paint , flattening between coats and then polishing after the final coat.
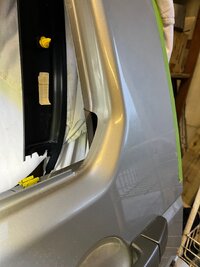
It’s not invisible but as it is almost under the rubber seal for the fixed rear pane of glass in the rear door I think I will get away with it.
Conclusion
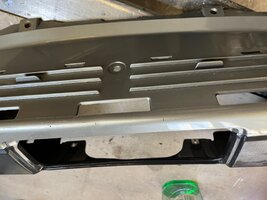
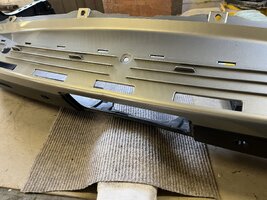
The product has it’s limitations. The best results were where there was a chip, particularly on a rolled edge.
,
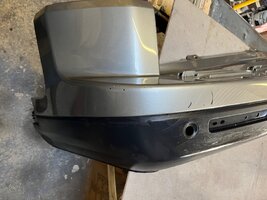
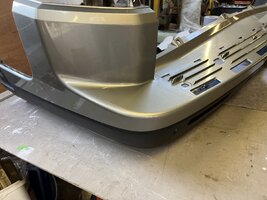
The finish on the scratches was disappointing :
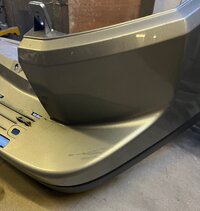
As a result I have decided that I will re-spray the whole bumper. My main reason for this is I have another plastic panel to go on the tailgate (to replace the existing that has had holes drilled in it) which is unpainted at the moment and the plastic ‘flares’ on the rear wheel arches have a lot of stone chip marks so as I am repainting these, I may as well make a proper job of the bumper at the same time.
Overall, if it is a small chip the product does quite a good job, if you are trying to touch in long scratches, it struggles to achieve a good finish. So for things like those annoying little stone chips across the front of a car this product is ideal for. Certainly a lot cheaper than having to re-spray the front of your car !
The kit is around £35.00 and this is what you get:


The top tray has two pots of your chosen body colour (metallic or plain) that matches your car. Next is two pots of the ‘CorrectNclear’ liquid, a small pot of paste and a small pot of wax.
Under this tray is a blue cloth for the correction fluid, a yellow cloth for the paste and wax, touch up brushes two foam pads and a pair of gloves.
I have bought a few replacement (used) body parts for my D4. A back bumper and a near side rear passenger door. Both are the correct body colour for my Disco, but they both have marks that need to be corrected.
So I thought this kit might be the alternative to completely respraying both pieces.
The Rear Bumper:


You can see a number of different scratches and chips on the flat surfaces and edges of the bumper.
The first thing to tackle is to clean out any plastic swarf from the scratches, this can be done with fine abrasive paper or a fibre pen.

You wipe the marks clean with the ‘CorrectNclear’ then, either using one of the brushes provided or, as I found more accurate, a needle; drop paint into the chip or scratch.


I left this to dry over night and then, with a 1600 grade wet and dry paper, gently rubbed the excess paint down flat. I then went over the areas again with the touchup paint, again leaving over night before flattening and polishing.
The Rear Door:
The rear door has only one serious blemish. A sizable chip with goes right down to the metal and the exposed metal has started to show rust.

I used a brass fibre pen to clean the rust out and then put a base layer of rust inhibiting zinc primer in. This was left to dry and then flattened before applying several coats of touch up paint , flattening between coats and then polishing after the final coat.
It’s not invisible but as it is almost under the rubber seal for the fixed rear pane of glass in the rear door I think I will get away with it.

Conclusion
The product has it’s limitations. The best results were where there was a chip, particularly on a rolled edge.
,


The finish on the scratches was disappointing :

As a result I have decided that I will re-spray the whole bumper. My main reason for this is I have another plastic panel to go on the tailgate (to replace the existing that has had holes drilled in it) which is unpainted at the moment and the plastic ‘flares’ on the rear wheel arches have a lot of stone chip marks so as I am repainting these, I may as well make a proper job of the bumper at the same time.
Overall, if it is a small chip the product does quite a good job, if you are trying to touch in long scratches, it struggles to achieve a good finish. So for things like those annoying little stone chips across the front of a car this product is ideal for. Certainly a lot cheaper than having to re-spray the front of your car !
