Series 1 2 & 3
Big Landy Fan
I've fitted an engine preheater on my newly installed rebuilt 2.25 diesel engine.
The reason being that winter is approaching (and I am getting old) so I want to minimise the discomfort and inconvenience on those cold/wet/damp/freezing mornings that are so common around here in the Fens.
I've never used a preheater before although I have often thought about fitting one but been put off with the faff, disturbance and expense.
After a lot of thought I decided to keep everything cheap and simple if I could.
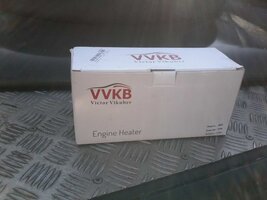
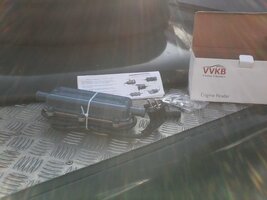
This is what I bought:
https://www.ebay.co.uk/itm/3KW-220V...767823&hash=item590890fcd1:g:pSEAAOSwLXtal82y
It was only £24.88 and arrived within 10 days.
I didn't think much of the flimsy mounting bracket supplied with it nor the undersize tee pieces so I did not use them.
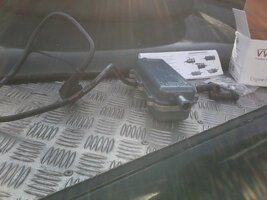
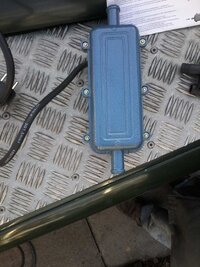
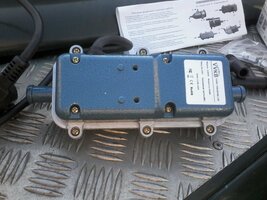
The actual 3 kilowatt preheater looked quite well built.
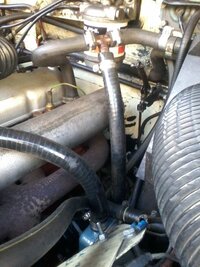
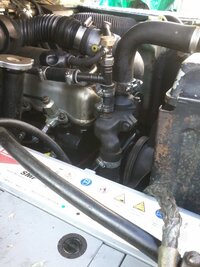
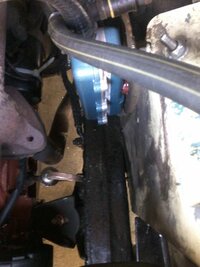
I mounted it to the spare left-hand drive steering column mount near the starter motor using 2 set screws and packing washers.
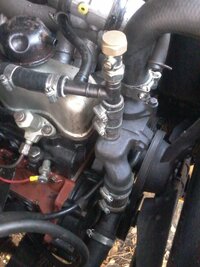
(see photos)
I used an existing hole in the mount and drilled an additional hole for the other set screw.
I cut off the European plug on the mains flex and threaded it into a short piece of flexible conduit for added protection.
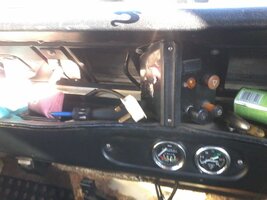
I fed it through the dash bulkhead into the dashboard tray and fitted a 13 amp plug.
The flex was just long enough.
I intend to use an extension lead to supply the plug in the cab and probably thread the lead through the steering wheel so I won't drive off and forget it!
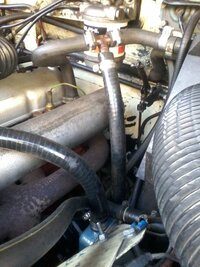
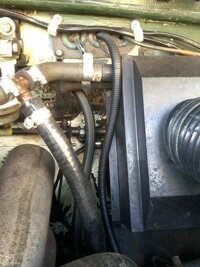
After looking at the high prices of 16mm metal tee pieces online I decided I'd make up the pipework myself using 15mm copper pipe and yorkshire fittings from my stock in the shed.
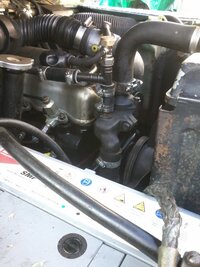
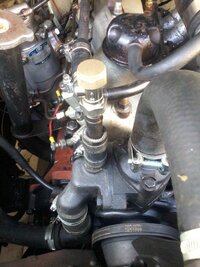
For the flow from the preheater I removed the heater tap from the thermostat housing and used a spare brass hose connection in its place.
I made up the pipework using 2 copper tee pieces and short pieces of pipe.
I also fitted a bleed valve to let out any trapped air.
To make absolutely sure that the rubber hoses would not slip off the plain copper pipe I also soldered onto them straight connections or straight connections cut in half (depending on the amount of space I had to play with).
The raised ring on the yorkshire fittings give extra grip.
I connected the pipework to the top of the preheater using 16mm rubber pipe.
For the return to the preheater I used 1 copper tee piece and short pieces of pipe and installed it in the return pipe of the cab heater.
I used 16mm rubber pipe and a 180 degree bend to connect up to the bottom of the preheater.
I topped up the cooling system, checked for leaks then took the vehicle for a run to clear out any air that may be trapped in the system before switching on the preheater.
The following morning (today) I switched on the preheater.
There was a slight whirr from the inbuilt water pump telling me something was happening.
After 5 minutes the pipework was warm.
After 15 minutes the cylinder head was warm to the touch.
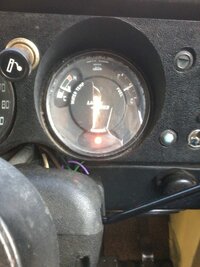
At 25 minutes the preheater switched itself off and the engine was almost up to normal temperature.
(see photo)
Although today is not that cold (about 11 degrees C at lunchtime) I am impressed with how well it works.
I'm almost looking forward to the cold weather later on this week!


Last edited:

