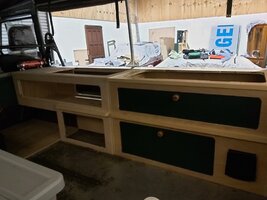
Lime Tree Heros
Accelerating Away
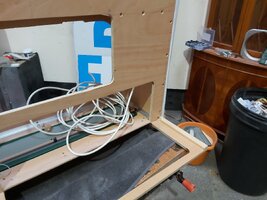
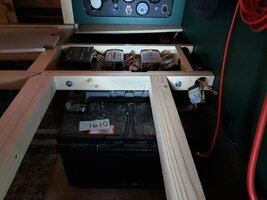
But, I'm back on my feet now, so on with the carpentry... Next up was building the fridge / battery charger / other gubbins unit. The biggest item was the fridge - this is what I'm planning to accommodate:

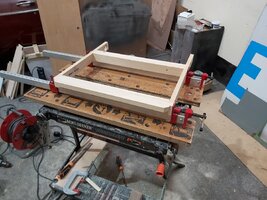
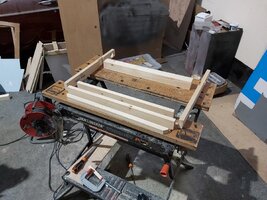
Having cut the base, next up was the front, including access doors.

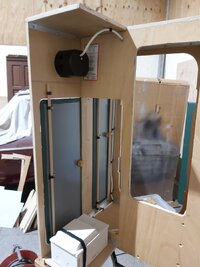
The doors were then covered in vinyl, the holes are for airflow, to the fridge unit (upper) and to the batteries / battery charger (lower).

This is the internal view showing the dowel and P clip door hinge system...

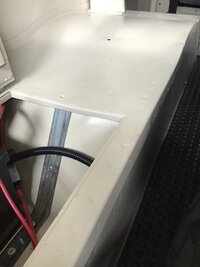
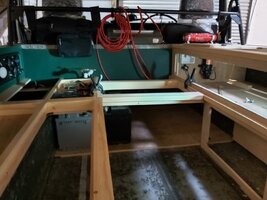
With the doors out, the front was fitted to the base, with side supports and the top trial fitted

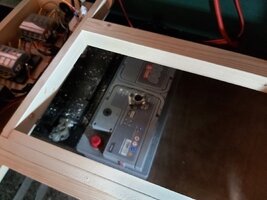
And then the fridge popped in to check it fits.

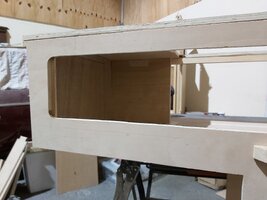
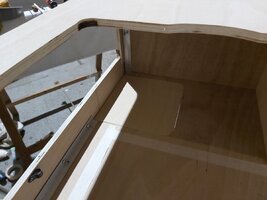
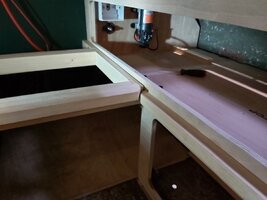
Next up is finishing the internal structure of the unit and working out if / where all 'the other gubbins' will fit. I'm hoping to include: 2 x plug sockets, cigar lighter, water pump, battery master switch, 2 x heavy duty fuses, battery charger, 240v distribution board and all associated wiring and plumbing - there's loads of room in the back of a Landy...
Having cut the base, next up was the front, including access doors.
The doors were then covered in vinyl, the holes are for airflow, to the fridge unit (upper) and to the batteries / battery charger (lower).
This is the internal view showing the dowel and P clip door hinge system...
With the doors out, the front was fitted to the base, with side supports and the top trial fitted
And then the fridge popped in to check it fits.
Next up is finishing the internal structure of the unit and working out if / where all 'the other gubbins' will fit. I'm hoping to include: 2 x plug sockets, cigar lighter, water pump, battery master switch, 2 x heavy duty fuses, battery charger, 240v distribution board and all associated wiring and plumbing - there's loads of room in the back of a Landy...