I have fitted these chunky slatted light guards to my parents Defender TD5 primarily to sort out the very odd looking front end the Air conditioning gives the defender! Very odd! 
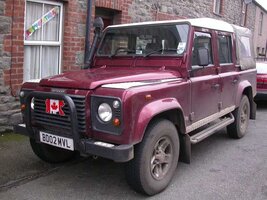
We decided to fit some driving lamps to the front too at the same time and I fitted the a-bar previously.
The kit
The light guard kit comes with -
Tools
When doing a job such as this take your time and do it right first time and remember
Measure twice, drill once!
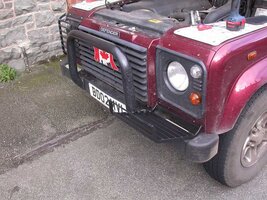
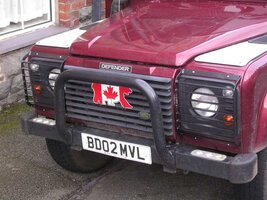

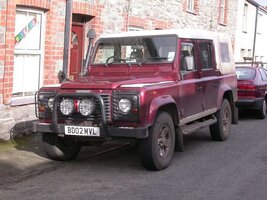


We decided to fit some driving lamps to the front too at the same time and I fitted the a-bar previously.
The kit
The light guard kit comes with -
- 2x slatted light guards
- 1x bits bag - 4x rivinuts, 8x bolts, 4x nuts, 16x washers, 4x P-clips and 1x rivinut installer bolt.
Tools
- 3mm, 5mm and 7mm drill bits
- Drill
- Flat head screwdriver
- Marker (either pen or metal point)
- For other tools associated with installing rivinuts separate article in the General section.
When doing a job such as this take your time and do it right first time and remember
Measure twice, drill once!
- Measure up and mark holes - Line up and mark the centre of the top mounting holes
- With the big nose of the AC front end I didn't have all that much space to play around with. Those without AC will have much more, however if you line up with the vertical outside edge of the light finishers and also the horizontal slats of the radiator grille you won't go wrong.
- When happy, take a small drill bit (3mm) and drill 4 pilot holes (the purpose of a pilot hole is to give the bigger drill bit something to follow and also ensures a circular hole).
- Swap to a 7mm drill bit and re-drill the holes.
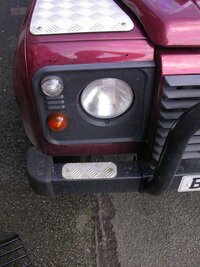
- Install the 4 rivinuts (see separate article on how to)
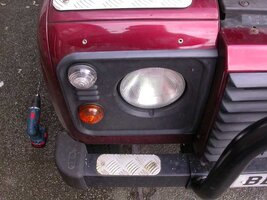
- Fit light guards using the upper mounts and 4x bolts and washers.
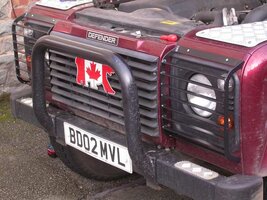
- Fit the P-clips over the lower (circular) bar, with the bold hole facing downwards.
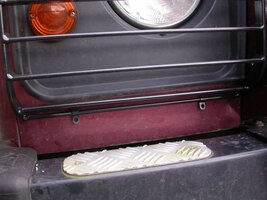
- Line up P-clips and mark.
- Drill holes using a 3mm as a pilot then a 5mm.
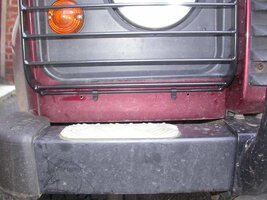
- Using 4x bolts, 4x nuts and 8x washers fix the P-clips to the panel.
- Done. Admire your work.


